
I have been wanting to do this project for a while now and mothers day was approaching so I thought I would give it a whirl. Minimal supplies are needed for this project. Its super easy, fun and turns out to be a great gift.
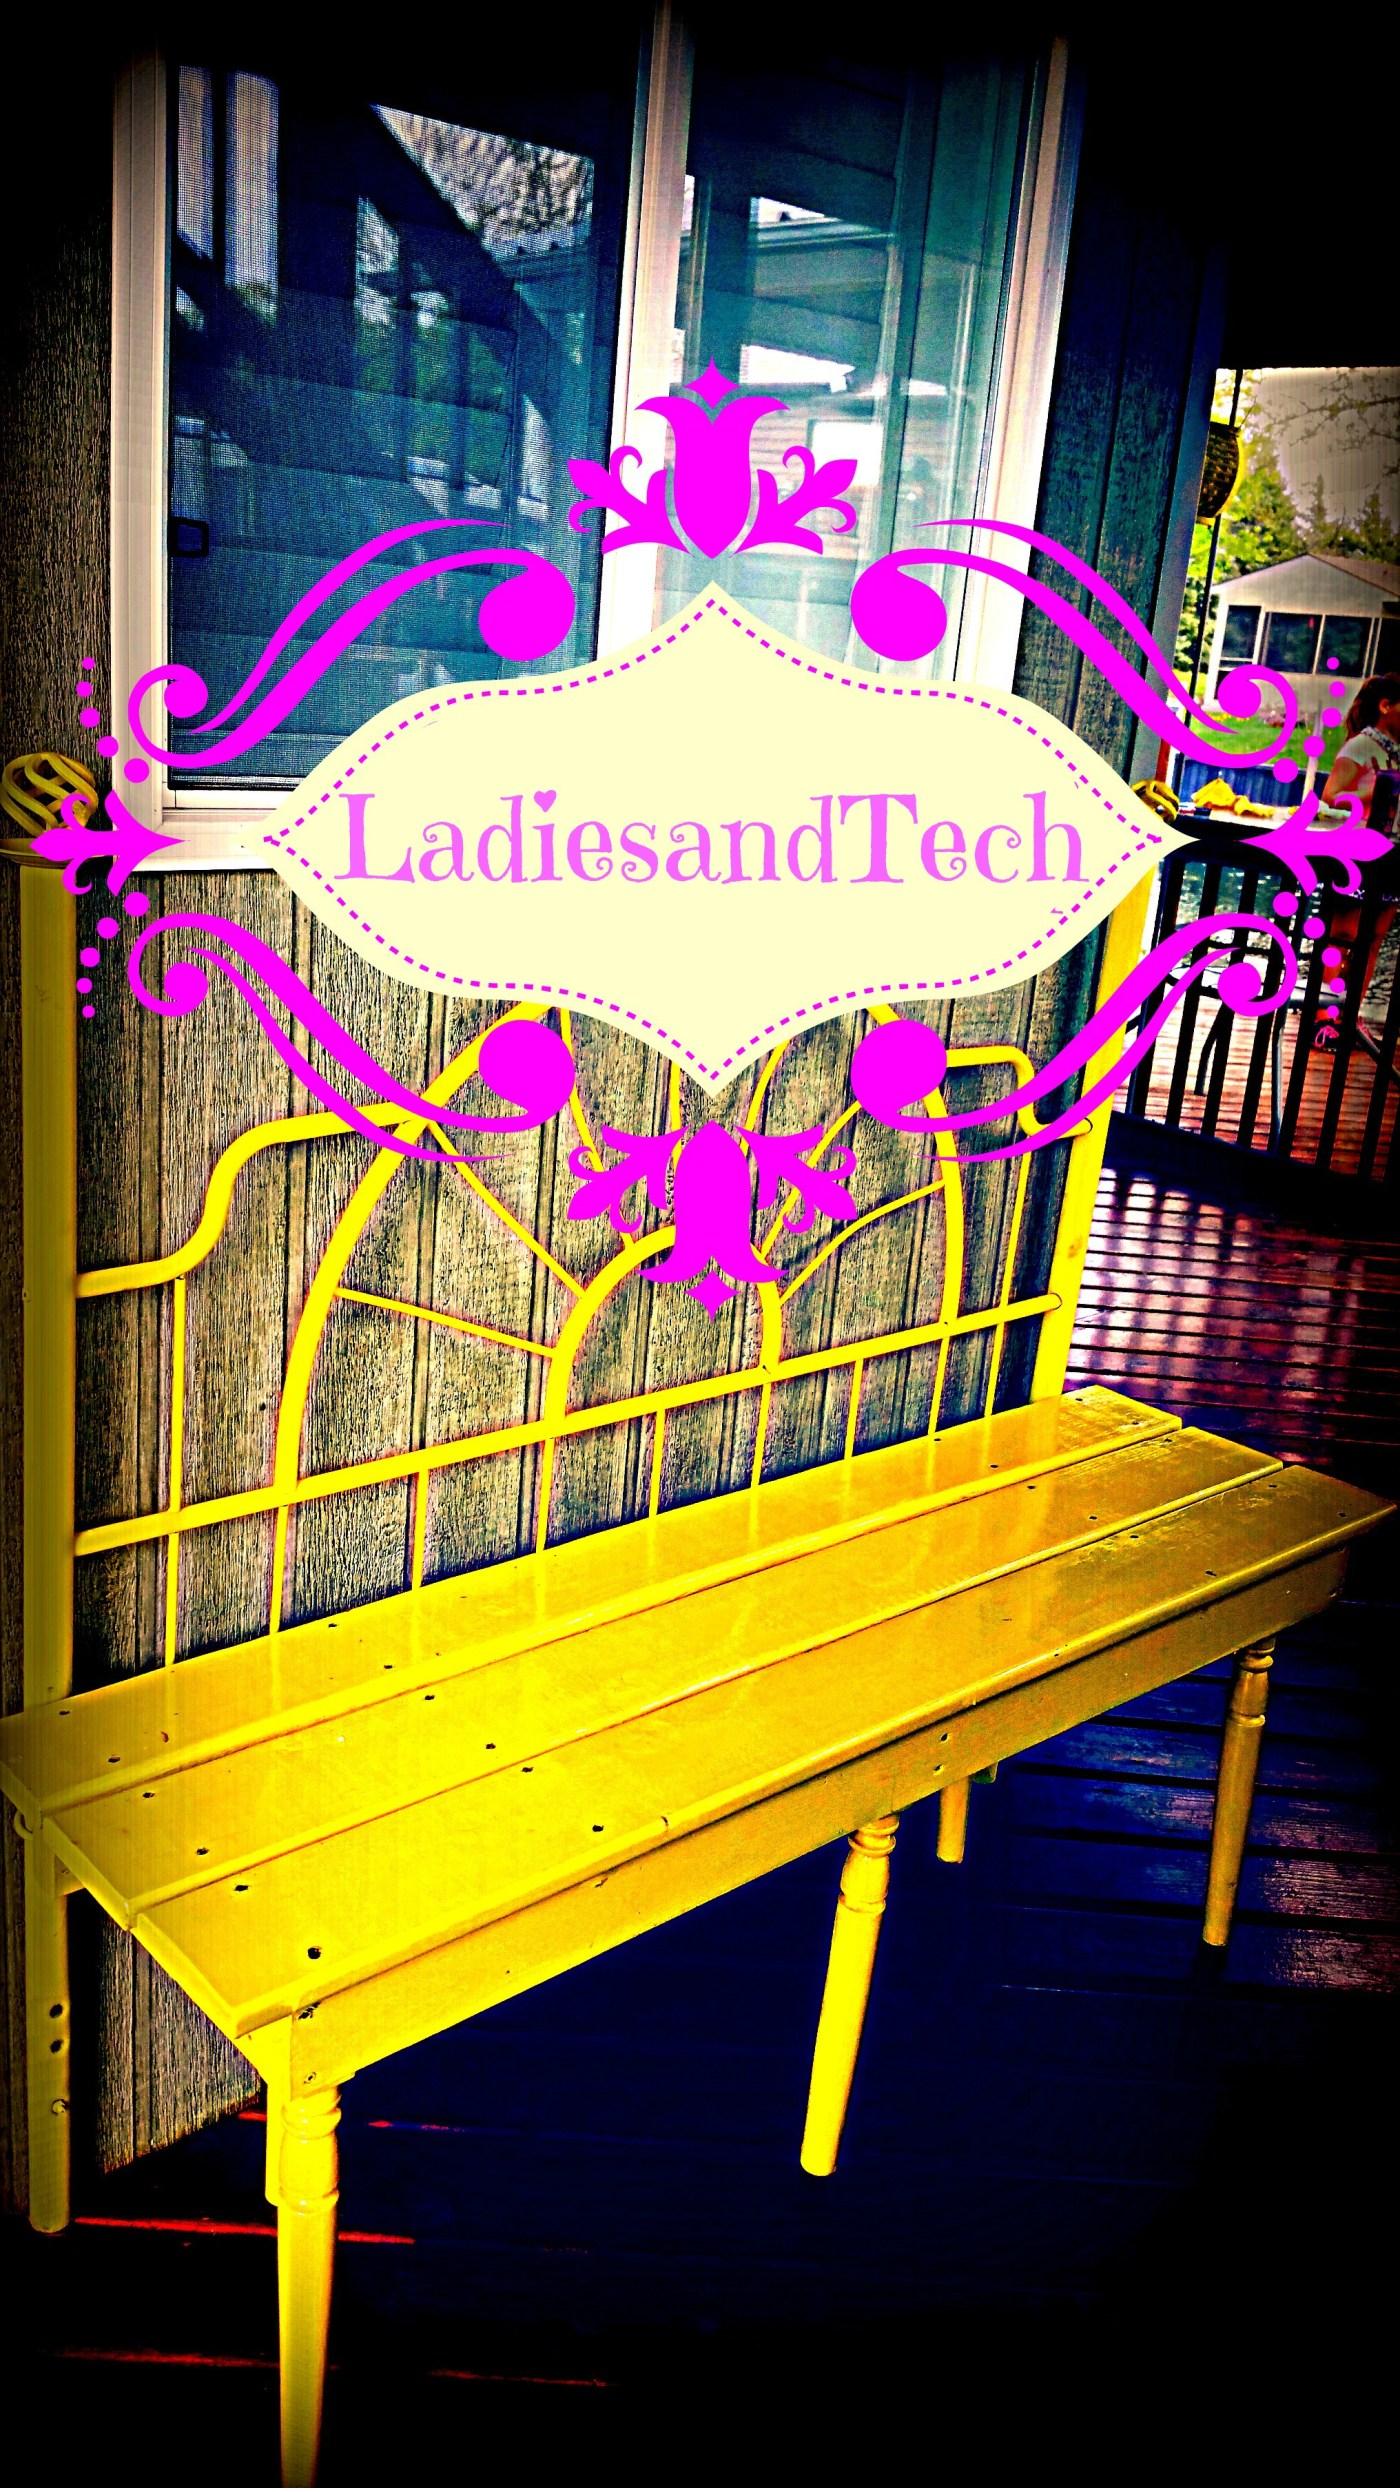
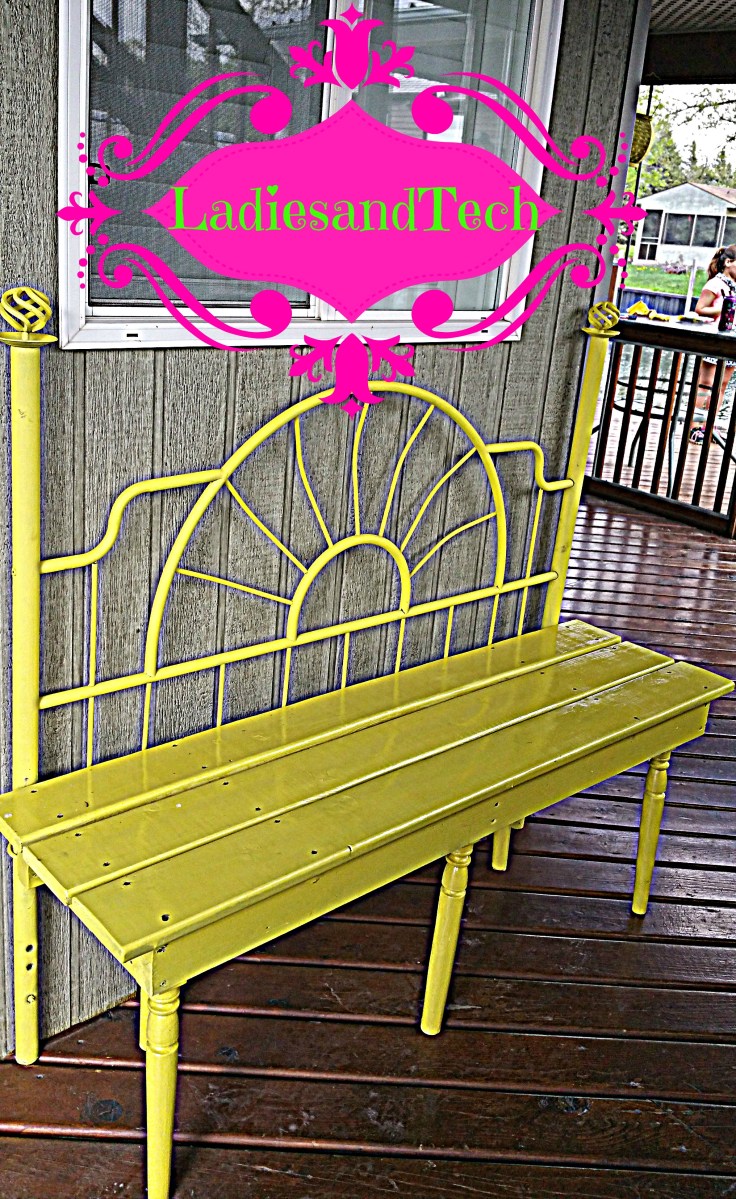
To start I used a metal double size headboard from when I was I kid for the back of the bench, which is shown below. You could use a wood one or any other headboard you like. I just happened to have this one laying around and wanted to put it to use.

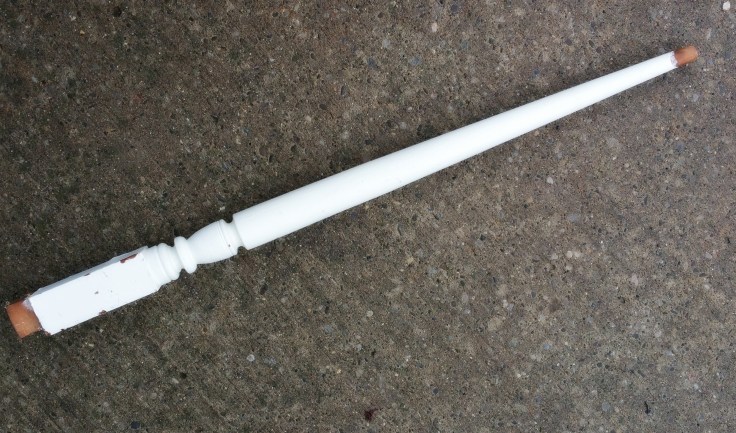
I wanted to add style or some sort of design to the legs of the bench so I went to the locate restore in search of legs. I found railing spindles, and I cut them to size and sanded them down to make sure the chipping paint was all cleaned up.
All the wood I used was pressure treated to withstand the outdoors. Next I created the frame for the seat of the bench using 2 x4’s and a 2 x8 for the back of the seat where the metal headboard would be connected to the seat. I framed in each of the location where a leg would be to ensure they were supported.

The paint I chose for this bench could be used on both wood and metal. The next thing I did was paint the frame, legs and metal headboard in yellow paint. You don’t need to paint the insides of the frame because you will not be able to see it once the bench seat is on.
I then drilled holes in the headboard and the 2X8 to connect the bench frame . I made sure that the seat frame was at good sitting height, while making sure that the frame was square and level.
Once the frame was attached to the headboard I then cut deck boards to fit the frame I built and attached them to the frame. Then painted the deck boards yellow to match.
My final step was to apply three coats of clear coat to ensure the bench was well protected and to give it an stunning shinny look.

That is it super easy and it looks great!!!


Leave a comment