
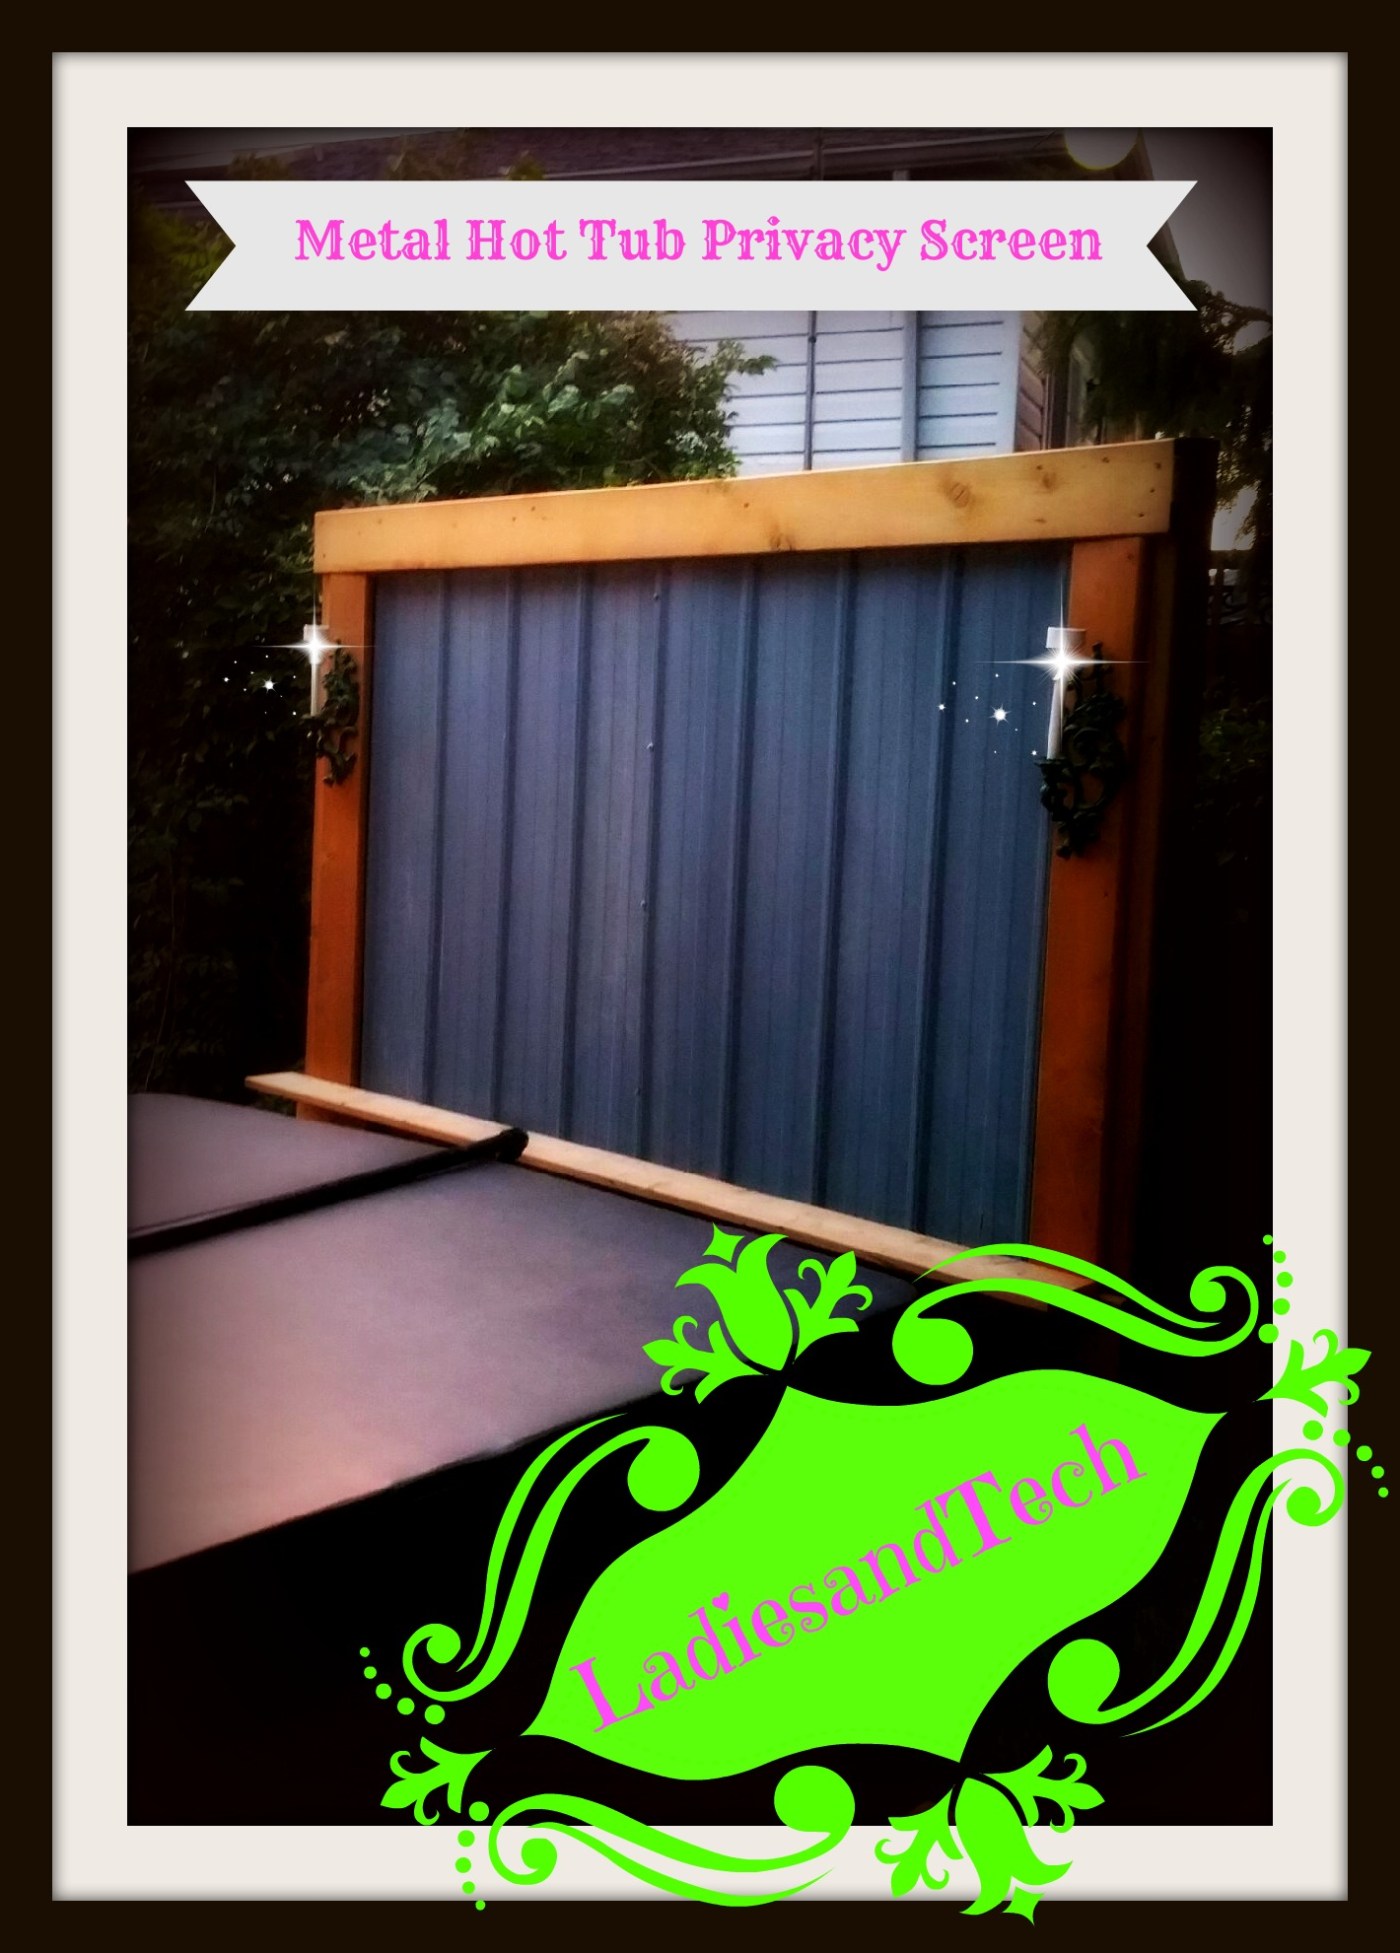
We have the hot tub installed and just love it, so relaxing but it could use a little more privacy on the one side. I love my neighbor Julie but feel bad that every time she steps out on her back porch she feels like she invading our little oasis. To solve the privacy issue I decided to make a privacy fence out of some left over metal roofing material from a roof I built.
Cutting the Metal*Safety Alert*
- First measure the width to the metal roof to determine how wide the pricey fence would be this will determine the width of the fence. Two pieces of metal roofing side by side with the over lap joint in the middle gave a total width of the metal to be 75″ for this project. That is only the width of the metal NOT the total width of the privacy screen including the wood framing around the metal. Using 75″ for the width of the metal leaves only one cut to be made of the metal roofing and one good straight side. The metal is thin and can slice your skin very easily so make sure to wear long sleeves and gloves to protect your skin from being accidentally cut.
- Measure the metal for a height of 52 inches and mark a clear line to follow. Please excuse how dirty metal looks, it is used.

3. Next cut the medal down the line using tin snips. *Safety Tip* Gloves and Long Sleeves should be worn.

Putting in the Posts
- Measure out where the center of the post need to be. For this project the post will be 18″ away from the hot tub (to ensure room for a shelf and the hot tub lifter) and 82″ on centers apart.
- Then pounded in the post using a sledgehammer and a small piece of 4″ x 4″.


3. Ensure the post are level, by placing a board across the two post spikes and using a level.
5. Insert the 4″x4″x96″ posts into the post spike and tightened the bracket on the spike while ensuring the post remains as level as possible. Having an extra set of hands really helps at this point.


Making the Frame around the Metal Roof Material
- Measure and cut the two deck boards at 81″.
- Lay the cut deck boards equal width apart around 49″and place the metal roof material evenly on the two 81″ boards. Make sure the metal over laps the board by at least 1.5″ to ensure enough room to put screws in to secure the metal roofing to the deck boards.


3. Pre-drill screw locations before you put the screw in or the metal will warp. The screws should be screwed in to the biggest groove in the centered on the groove on the metal roofing.
4. Next secure the metal roof material to the horizontal 81″ boards, using metal roof screws, they have a washer type gasket on them. The metal roof screws are a hex head, make sure you have the correct driver to screw them in.

Locations for holes and where in the larger radius is to place the screw


5. Next cut small pieces of the deck boards to create stand offs. The width of the stand offs are close to the width of the metal and are perfect to be used for anchoring points for the front horizontal board that attach to the upright posts.


6. Cut two a pieces of deck boards to 88″ long.
7. Center 88″ deck boards and secure to stand offs. These are the horizontal boards that attach the frame to the 4″x 4″ posts


8. Flip the privacy screen over so that you can access the back side. This will take two people due to the unsuitability of the frame at this point.
9. Cut one piece of deck board to fit between the two horizontal boards which should be around 49″ depending on how the placement of the metal roofing. Also cut another deck board to fit to the outer edge of horizontal boards, which should be around 60″.


Mounting Frame to Poles
- Mount the frame to the 4″ x 4″ poles, ensure the front side (the side without the middle board showing is facing the hot tub.

2. Cut two pieces of deck board to 49 “, this is for the to vertical pieces for the front of the privacy screen. Secured them to the 4″ x 4” posts.

3. Cut two deck boards to 49″, and cut a 2″ x 2″ to 35″. Then on the back side of the privacy fence, secure the 2″ x 2″ to the deck board, then secure the 2″ x 2″ to the 4″ x 4″ post.

That’s it the screen is complete.
To added to the screen I then added a shelf and some solar candles and now my PRIVATE little OASIS is complete.


Leave a comment